This is the first time I am making paneer at home, other than I made it for making Rasgulla. That is this is the first time I am setting paneer and made to cubes. Here paneer is bit expensive and also cannot rely on a specific brand. The place where I shop always changes the brand they are selling, so get puzzled at the ingredients and the quality. I love amul paneer but its been ages since they kept it here for sale. After that tried few unknown brands and was not that satisfied.I then liked kohinoor paneer, but they stopped keeping that too
 . From that time onwards I used to think I should try making at home. But always wondered, 1 litre milk makes only this much paneer? But not bad you know, its enough to make once any paneer dish, that serves 2-3.
 So for first time I am very much satisfied with the results and I am sure I can make this often. This time I was not patient enough to leave it, I kept on checking if the paneer is set or no and learnt few lessons. Next time I am sure I can make it perfect… Don’t forget to check out the notes section.

Ingredients(to make 30 small cubes)
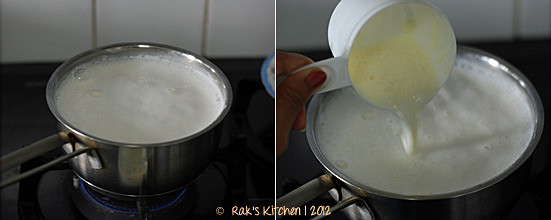
| Milk (I used full cream) | 1 litre |
| Curd | 1/4 cup |
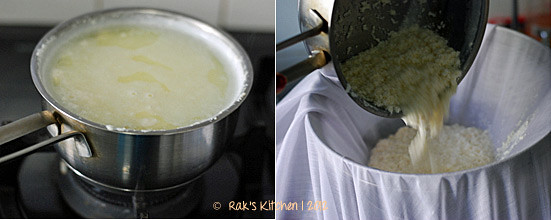
| Ice cubes | few |
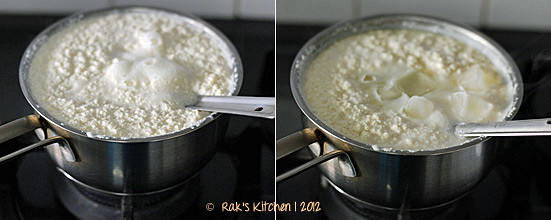
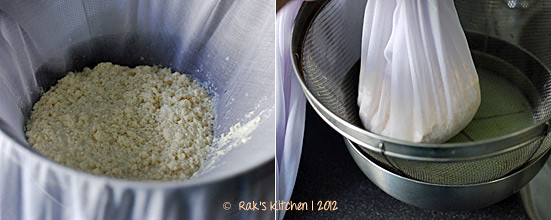
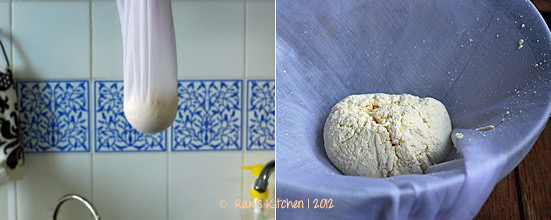
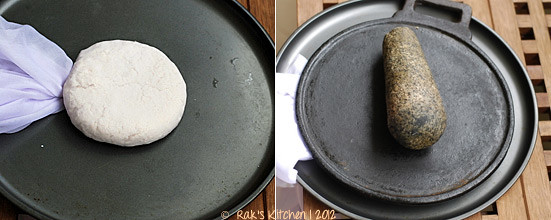
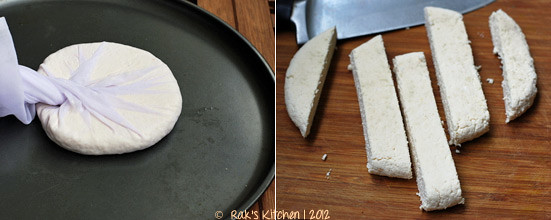
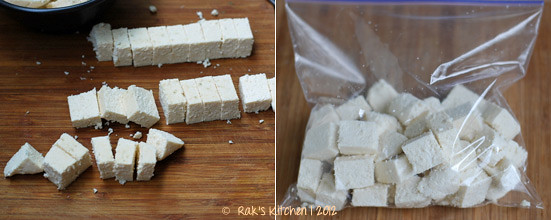
Method
|

Notes
|
No comments:
Post a Comment